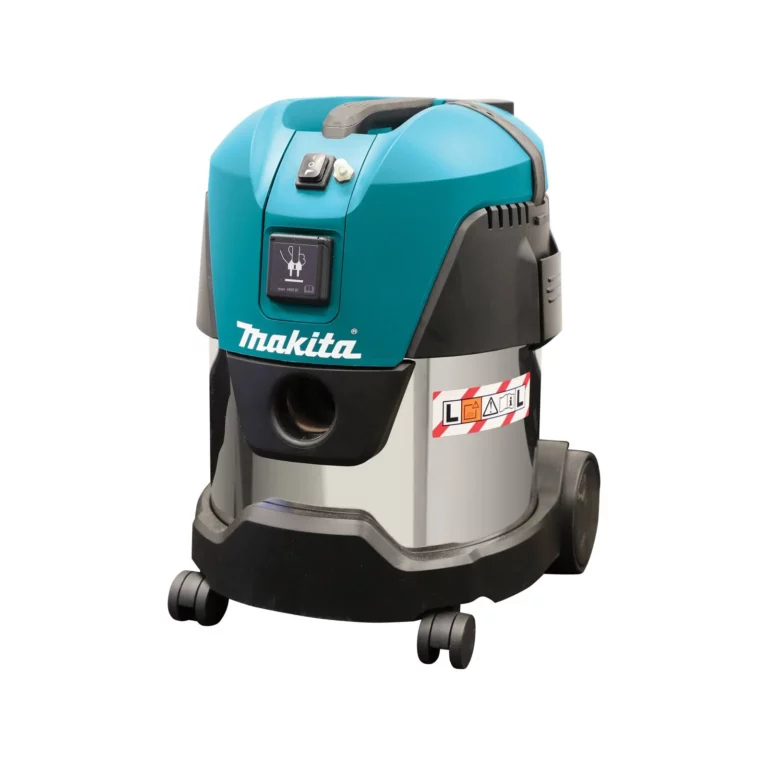
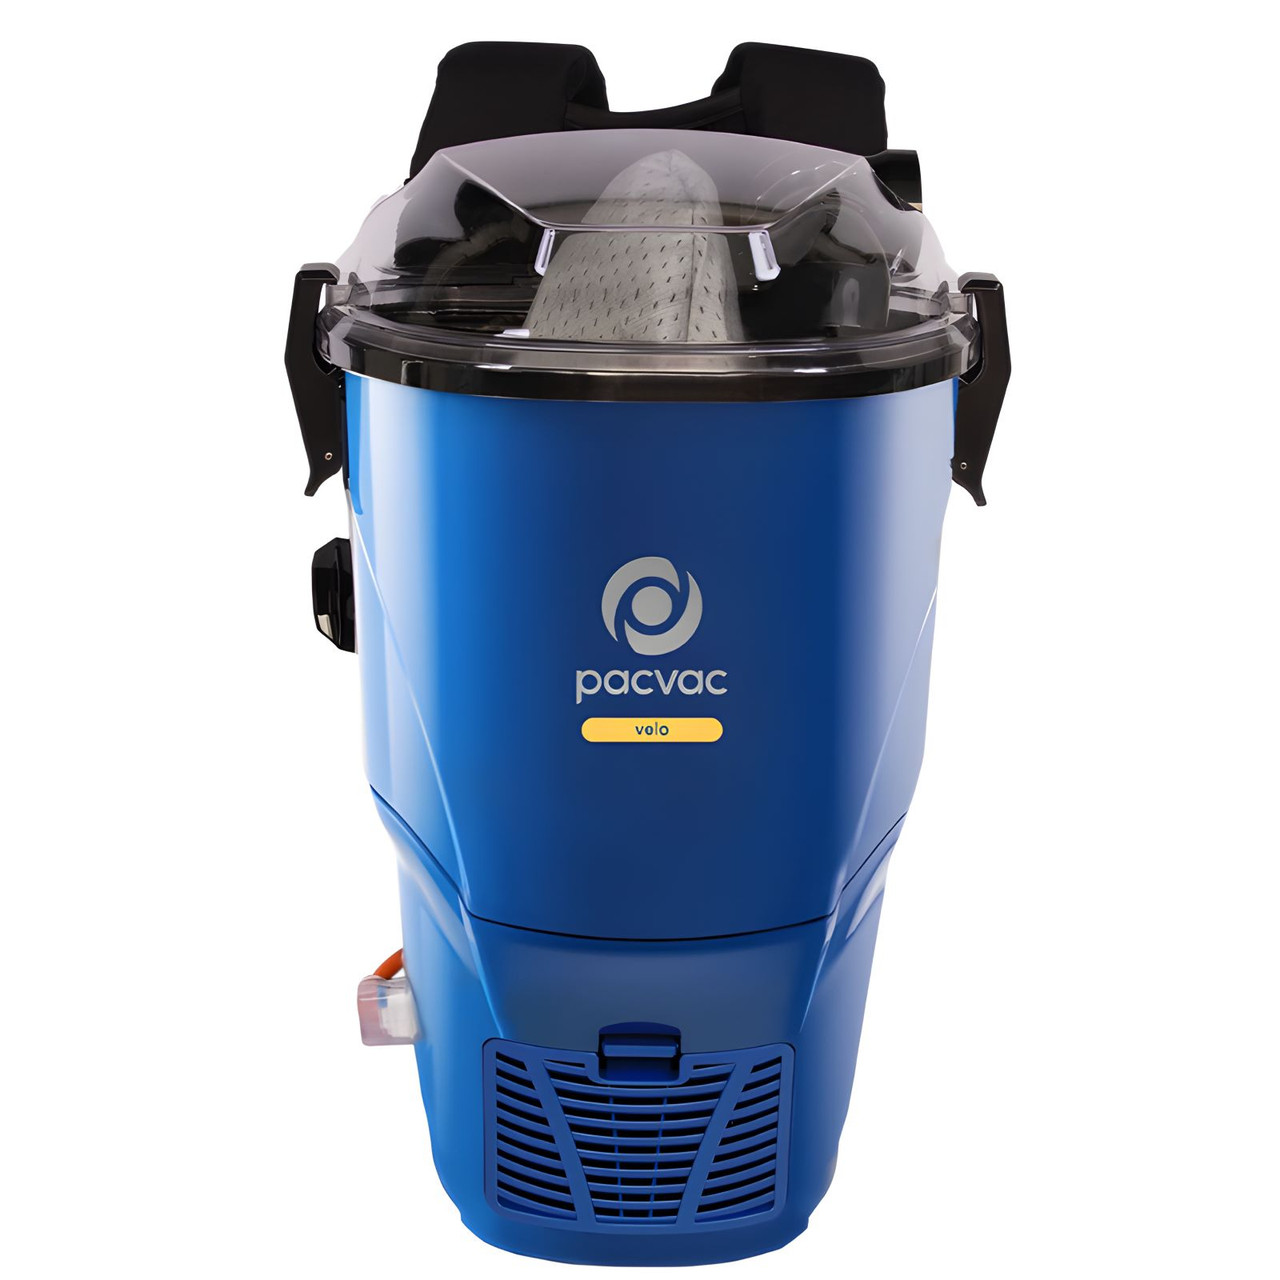
A wet and dry vacuum cleaner is built to handle both liquid spills and dry debris, which makes it one of the hardest-working machines in a home, workshop, or commercial space. Because it deals with such a wide mix of mess, from sawdust to spilled water, it needs regular cleaning to keep suction strong and the motor protected. This guide walks through how to clean wet and dry vacuum cleaner units properly, covering every part of the machine so it stays reliable for the next job.
Many customers reach out with the same concerns: musty smells after wet pickups, reduced suction, or uncertainty about which parts are safe to rinse. The steps below address these common questions and give a clear, practical routine that can be repeated after every use or on a regular cleaning schedule.
Why Regular Cleaning Matters
Wet and dry vacuums are often used for tougher jobs than a standard household vacuum, including flood clean-up, workshop debris, and general home maintenance. Because liquid and dry matter pass through the same canister and filtration system, residue can build up quickly if the unit isn’t cleaned after wet use. Leaving moisture inside the tank is one of the most common causes of odour, mould, and filter damage. Emptying and drying the unit properly after every wet pickup helps protect both the motor unit and the internal seals from long-term wear.
Step 1: Unplug and Empty the Canister
Before any cleaning begins, the vacuum should always be switched off and unplugged from the power point. This is a basic safety step that applies to any electrical cleaning appliance. Once unplugged, the canister or tank can be detached and emptied.
- Dry debris: Tip dust, dirt, and other dry material into a bin, away from the work area to avoid resettling.
- Liquid waste: Pour collected water or liquid down a drain, checking first that it doesn’t contain anything unsafe for plumbing.
- Large debris: Remove any bulky items by hand before rinsing the canister, since they can block drains or damage seals.
Step 2: Rinse and Dry the Canister
The canister is usually the easiest part to clean since it’s designed to hold both wet and dry material. A rinse with warm water helps remove residue that dry wiping can’t shift, particularly after wet vacuuming jobs.
- Rinse thoroughly: Use warm water to clear out any leftover sludge, dust, or grime clinging to the sides of the tank.
- Check the seals: Inspect rubber gaskets and seals around the canister lid, since a damaged seal can affect suction.
- Dry completely: Leave the tank open to air dry fully before reassembling, as trapped moisture is a common cause of odours.
Step 3: Clean or Replace the Filter
The filter is one of the most important parts of a wet and dry vacuum cleaner, since it protects the motor from fine dust and debris. Not all filters are designed to be washed, so it’s worth checking the type fitted to the specific model before rinsing.
- Foam filters: These can generally be rinsed in water and left to dry fully before being refitted.
- Paper or cartridge filters: These are usually not washable and should be tapped clean or replaced when worn.
- Inspect for damage: Torn or clogged filters reduce suction and should be swapped out to keep performance consistent.
Genuine replacement filters and parts for a wide range of brands are available, so a worn filter doesn’t need to mean the end of the vacuum’s working life.
Step 4: Wipe Down the Motor Housing
The motor housing should never be submerged in water or rinsed directly, since this is the electrical component of the unit. Instead, a damp cloth is the safest way to remove dust and grime from the exterior.
- Wipe the exterior: Use a lightly damp cloth to clean the housing, avoiding any vents or electrical openings.
- Check the power cord: Inspect the cord for fraying or damage while cleaning, since this affects safe operation.
- Avoid moisture near switches: Keep water away from the on/off switch and power inlet at all times.
Step 5: Clean the Hose and Attachments
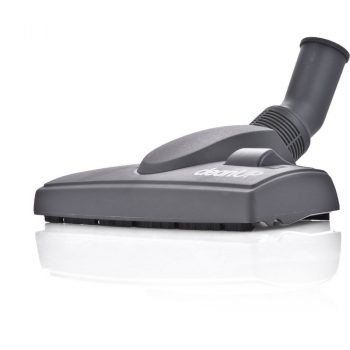
Hoses and attachments can trap debris, especially after picking up wet material, which can lead to blockages or reduced airflow if left unchecked.
- Check for blockages: Run a straightened coat hanger or similar tool through the hose to dislodge trapped debris.
- Rinse where appropriate: Many hoses and plastic attachments can be rinsed with water and left to dry.
- Reattach once dry: Make sure all parts are completely dry before reconnecting them to avoid trapping moisture inside the unit.
Step 6: Reassemble and Store Properly
Once every part has been cleaned and is fully dry, the vacuum can be reassembled. Storing it correctly helps prevent damage between uses and keeps it ready for the next clean-up.
- Store in a dry area: Keep the unit away from damp spaces to prevent mould or corrosion.
- Coil the cord loosely: Avoid tight wrapping, which can strain the cord over time.
- Keep the lid slightly open: If storing for an extended period, leaving the tank lid ajar helps prevent trapped moisture and odours.
Common Questions About Cleaning a Wet and Dry Vacuum
How often should the filter be cleaned? This depends on how frequently the vacuum is used, but checking after every wet pickup is a good habit, since damp debris clings to the filter more than dry dust.
Can the whole unit be hosed down? No. Only the canister, hose, and certain plastic attachments should be rinsed. The motor housing and electrical components must stay dry at all times.
Why does the vacuum smell musty after wet use? This is almost always due to leftover moisture in the tank or filter. Drying every component fully before storage resolves this in most cases.
A Reliable Routine for a Reliable Machine
Keeping a wet and dry vacuum cleaner in good condition doesn’t require anything complicated, just a consistent routine after each use. Emptying the canister, rinsing what’s safe to rinse, drying the filter and hose, and keeping the motor housing free of moisture will help the machine perform well for years to come.
Vac City stocks a range of wet and dry vacuum cleaners, along with the filters, hoses, and accessories needed to keep them running smoothly. For anyone unsure which parts suit their model, the team is available to help find the right fit, and same-day vacuum repairs are also on offer for units that need a closer look. Browse the current range online, explore the parts and accessories available, or get in touch with the team directly for guidance on keeping any wet and dry vacuum in top working order.